
Engineering Guides
Bulk Cargo Conveyor Design Checklist for High-Throughput Loading and Transfer

Vijay Baid
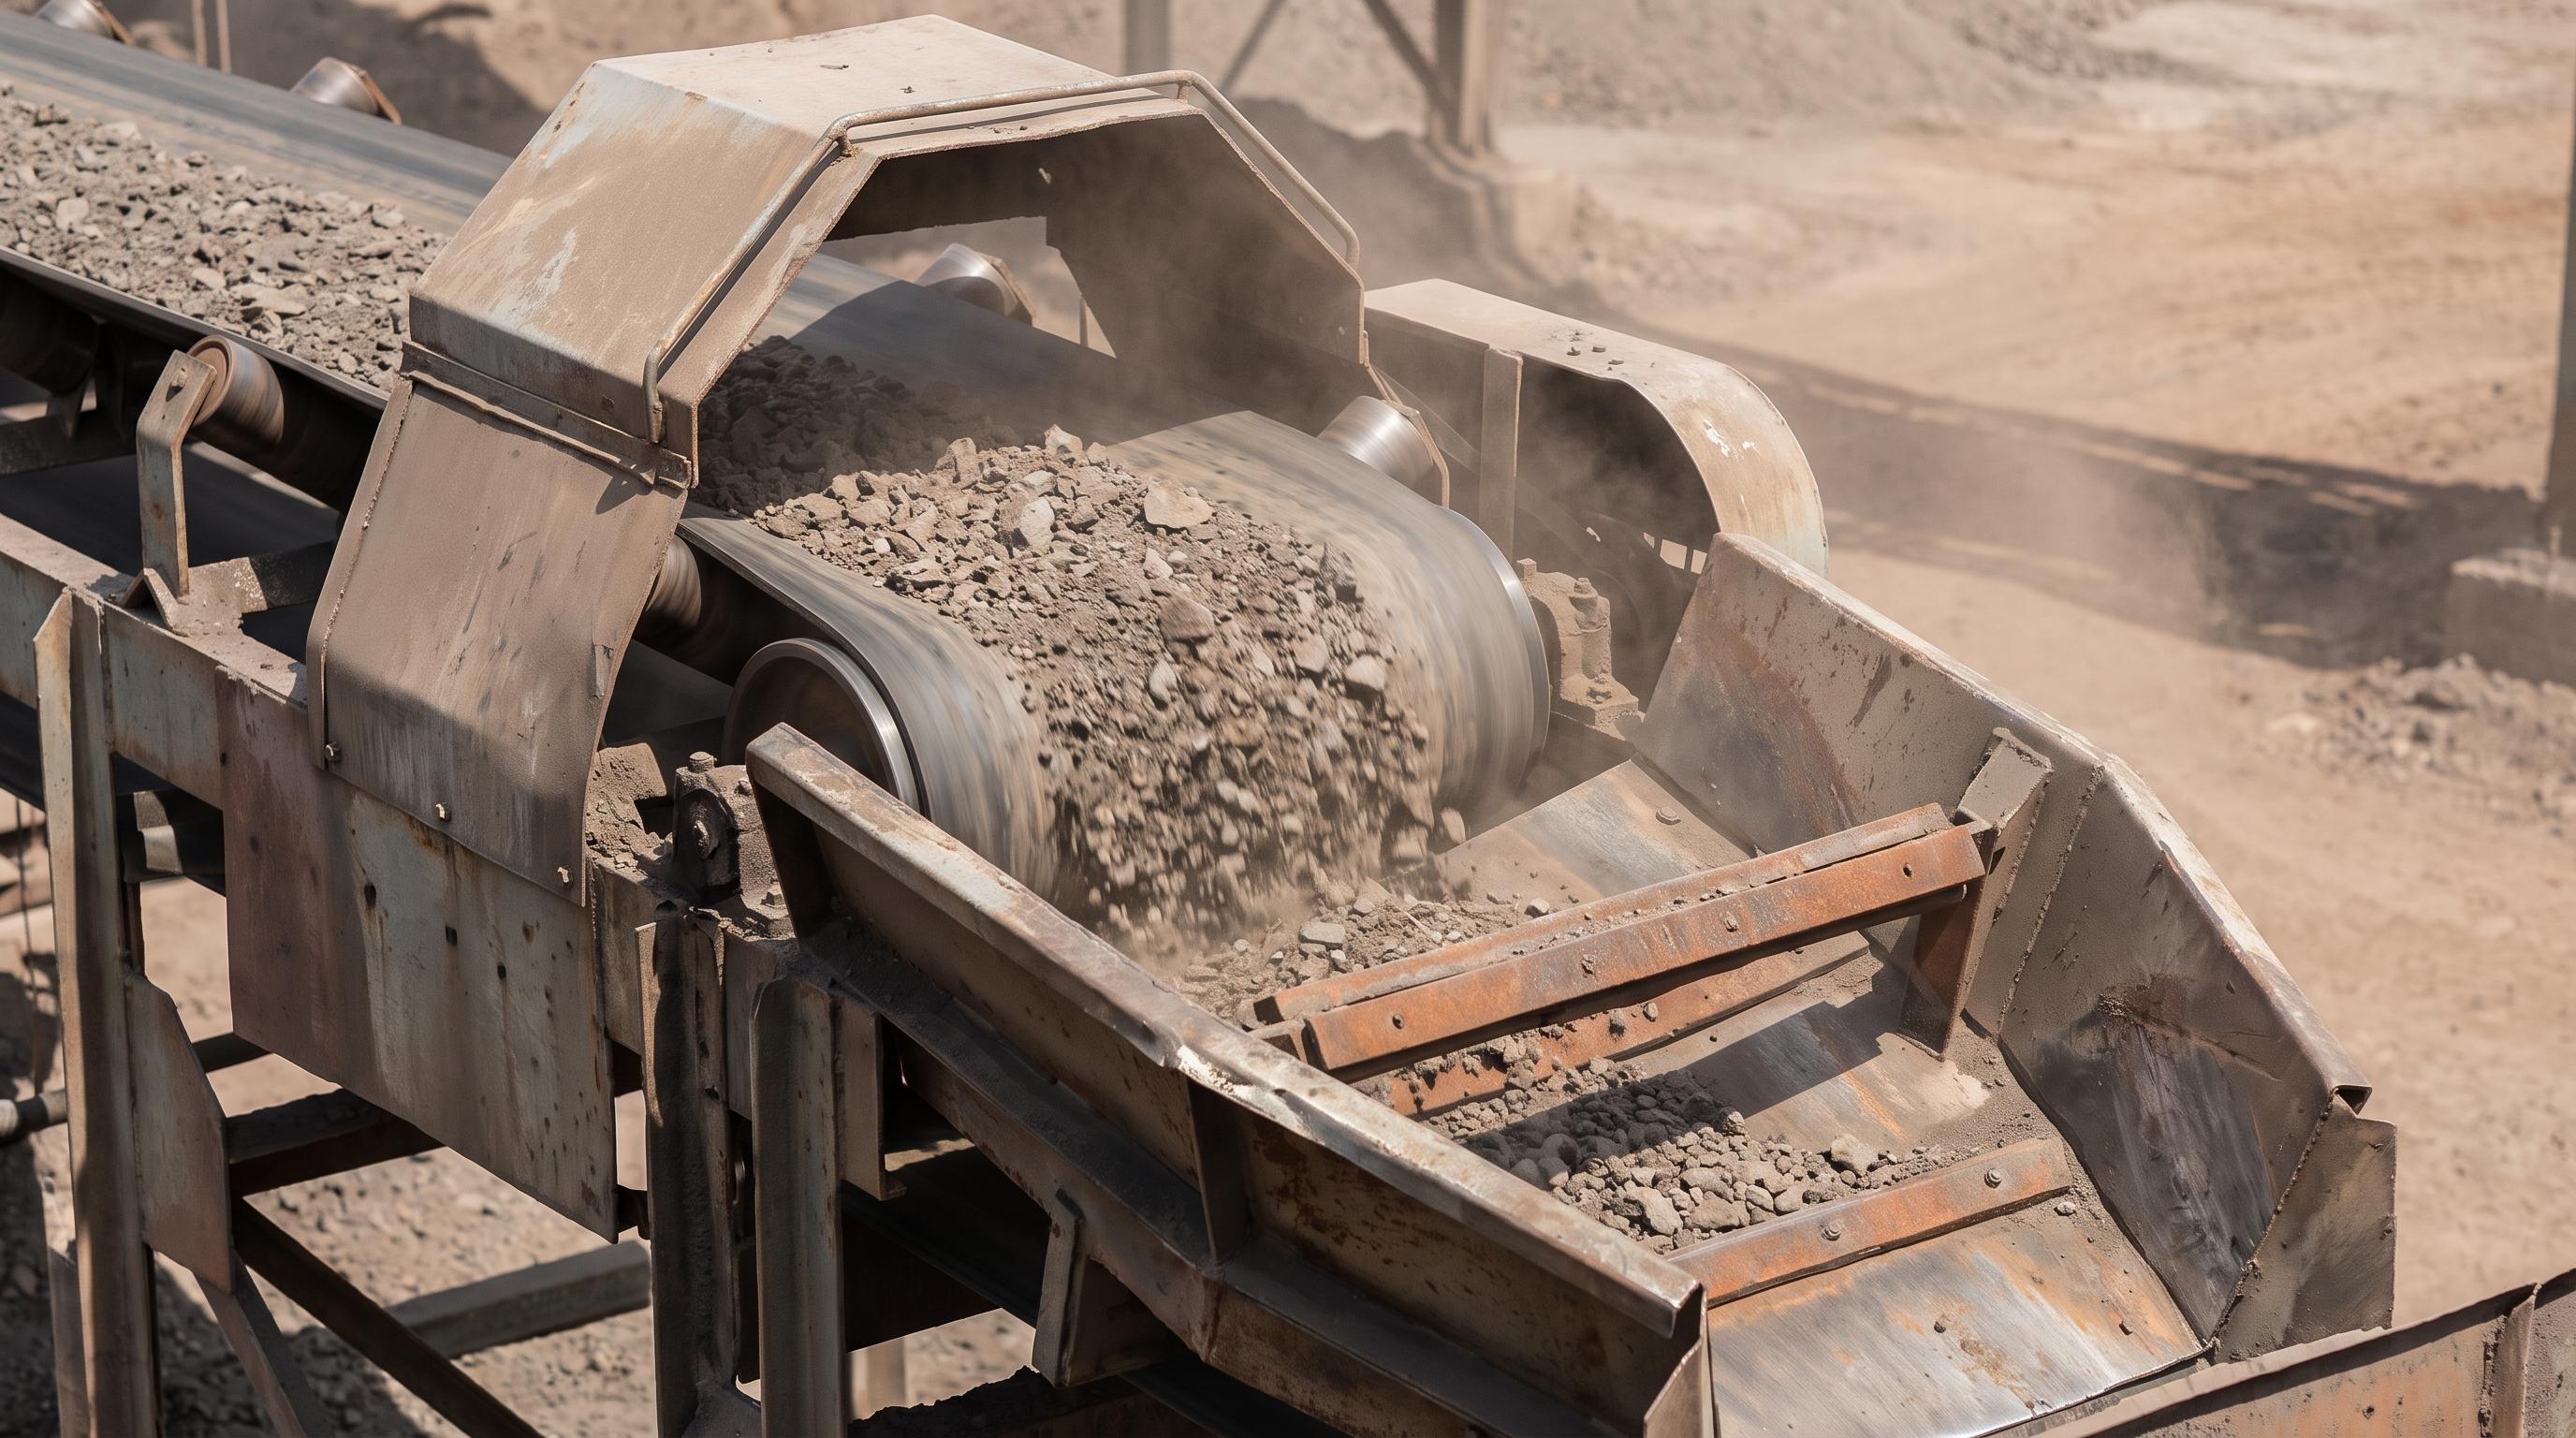
TL;DR: High-throughput bulk cargo conveyors succeed only when designers look beyond average tonnage. Key checks include real material behavior under changing moisture and lump size, peak surge capacity instead of average rates, precise transfer chute trajectories that match material speed to the belt, centered loading, and strong impact protection. Getting these right prevents belt damage, spillage, dust problems, and costly downtime.
Bulk cargo conveyor design for high-throughput loading and transfer starts with a few make-or-break decisions: how the material behaves, how the transfer chute controls its path, and how the loading zone protects the belt under peak conditions. In ports, mines, and bulk terminals, weak choices in these areas quickly turn into spillage, dust, mistracking, and repeated downtime.
A strong bulk cargo conveyor design review checks material characteristics, surge capacity, chute trajectory, centered loading, sealing, and serviceability before drawings are finalized. The checkpoints below help engineering teams protect throughput, reduce belt wear, and avoid expensive redesigns after commissioning.
Bulk Cargo Conveyor Design Checkpoints for High-Throughput Loading
1. True Material Characterization & Flow Dynamics
Designing only for dry bulk density almost always leads to problems later. Real bulk materials change behavior with moisture, temperature, and particle size.
Surcharge angle and angle of repose decide how much material the belt can actually carry without spilling over the edges.
Moisture and stickiness turn many ores, coal, and fine concentrates into material that clings to chute walls and belt covers. Sticky material needs steeper chute angles, polished or lined surfaces, and effective belt cleaners.
Abrasiveness and lump size matter greatly. Lumps larger than 150 mm create high impact forces that can gouge the belt cover and puncture the carcass if the loading zone is not protected.
Ignoring these factors leads to frequent chute blockages, heavy spillage, and rapid belt wear.
2. Capacity Sizing: Average vs. Peak Surge Rates
Sizing the conveyor only for average hourly tonnage is a common cause of overload trips and chute plugs.
Always design belt width, motor power, chute volume, and structural strength for 120 % to 150 % of the nominal (average) capacity. This peak surge factor covers normal variations in feeder output and short-term process spikes.
Prefer wider belts running at moderate speeds over narrow belts running very fast (above 4.5 m/s). Higher speeds increase dust, accelerate cover wear, and make material harder to control at transfer points. Wider belts at moderate speeds give more stable loading and longer component life.
Evaluating belt width, speed, motor power, or troughing geometry for a new high-capacity line? Get practical baseline parameters for capacity, speed, and component selection.
3. Loading Zone & Transfer Chute Geometry
The transfer point is usually the highest-wear location on any bulk conveyor. Poor geometry destroys belts faster than long-distance friction.
Velocity matching is critical. The chute should accelerate the material so its horizontal speed is close to the receiving belt speed. When material lands almost stationary, the belt must drag it up to speed through friction. This causes severe cover abrasion and extra motor load.
Centered loading keeps the belt tracking straight. Off-center material creates side forces that push the belt into the structure, wearing the edges and damaging the carcass.
Impact control is essential when material drops from height. Dead-bed rock boxes, curved hood-and-spoon chutes, or heavy-duty impact beds absorb kinetic energy before the material hits the belt. Follow trajectory calculation methods outlined in CEMA guidelines to place the material correctly.
Well-designed transfer chutes combined with proper loading-zone support dramatically reduce belt damage and spillage.
4. Component Selection & Structural Alignment
High-throughput systems run long hours under maximum load. Components must be chosen for continuous heavy duty.
Pulleys and shafts need to handle high belt tension. Drive, tail, and bend pulleys should use quality lagging (ceramic or heavy-grooved rubber) to prevent slip. See engineered conveyor pulleys rated for these conditions.
Idlers should be selected for the required troughing angle (commonly 35° or 45°) and CEMA load class. Heavier CEMA E or F rated conveyor idlers reduce belt sag and support higher volumetric capacity.
Dust control and sealing become more important as speeds and drop heights increase. Positive air pressure inside chutes pushes dust out unless the system has proper skirt boards, sealing strips, and adequate venting or dust collection. This also helps meet EPA expectations for fugitive dust control.
Need help calculating material trajectories, optimizing chute geometry, or selecting the right components for a high-tonnage project?
From the Field: An ocean bulk terminal moving 4,500 MTPH of iron ore saw severe belt wear and persistent spillage at its primary transfer point because the chute dropped material from more than 4.5 meters at the wrong entry angle. The redesign focused on the core bulk cargo conveyor design controls covered in this post: matching chute trajectory to belt speed, keeping loading centered, and protecting the impact zone. After the chute was reshaped and the loading zone upgraded, belt life extended from 9 months to more than 4 years while dust and cleanup costs dropped sharply.
Belt Tracking, Skirt Sealing, and Spillage Control in High-Throughput Transfer Zones
Mistracking often starts at the transfer point when material lands off-center, skirt pressure is uneven, or the belt enters the loading zone with poor alignment. Designing for centered loading and stable entry conditions reduces edge damage and unplanned shutdowns.
Skirt boards need a proper settling zone long enough for the burden to stabilize before sealing pressure is applied. If that zone is too short or too aggressive, fines escape, sealing strips wear faster, and belt edges suffer unnecessary damage.
Spillage is not just a housekeeping problem. Fugitive material around idlers, pulleys, and walkways increases cleanup labor, raises safety risk, and accelerates wear on nearby rotating components.
Good transfer-zone design combines centered loading, skirt sealing, wear liners, and accessible inspection points so the system keeps material on the belt, reduces dust release, and protects product loss margins.
Commissioning Checks Before a High-Throughput Conveyor Goes Live
Before startup, verify belt alignment, tracking response, idler condition, pulley lagging, and loading-zone support under no-load and loaded conditions. Small alignment errors at commissioning often become chronic maintenance problems later.
Run chute-flow checks with the expected material size, moisture range, and feed variation, not only ideal material. This confirms the chute clears properly and that the material stream lands in the intended zone on the belt.
Inspect the impact zone during trial runs for belt deflection, bounce, skirt leakage, dust escape, abnormal vibration, and hot spots at drives or bearings. These early signs show where the design still needs adjustment before full production begins.
Record motor load, start-up behavior, and spillage observations during early operation. A short commissioning checklist helps the team correct issues early, protect throughput, and avoid avoidable wear and cleanup cost.
Final Key Takeaways
Successful high-throughput bulk cargo conveyors are built on careful pre-design work, not just bigger motors or wider belts. Characterize the real material behavior, size the system for peak surge rather than average rates, design transfer chutes that match material velocity and keep loading centered, and select heavy-duty components that can run continuously under full load. These steps protect the belt, reduce spillage and dust, lower maintenance costs, and keep the facility productive over the long term.
Frequently Asked Questions (FAQ)
Feed rates fluctuate. Without a surge factor of 120–150 %, the belt, chute, and motor will overload during normal peaks, causing plugs, trips, and accelerated wear.
Very important. When material lands with almost no horizontal speed, the belt must accelerate it through friction. This is one of the fastest ways to destroy the top cover.
Drops greater than about 1.5–2 meters with lump sizes above 150 mm normally need rock boxes, impact beds, or carefully designed curved chutes to protect the belt.
Yes. Many problems are solved by redesigning the chute geometry, adding centering plates, installing impact beds, and improving skirt sealing often with short payback periods.