
Problems & Solutions
Conveyor Commissioning Checklist: What to Verify Before Full-Load Operation

Vijay Baid
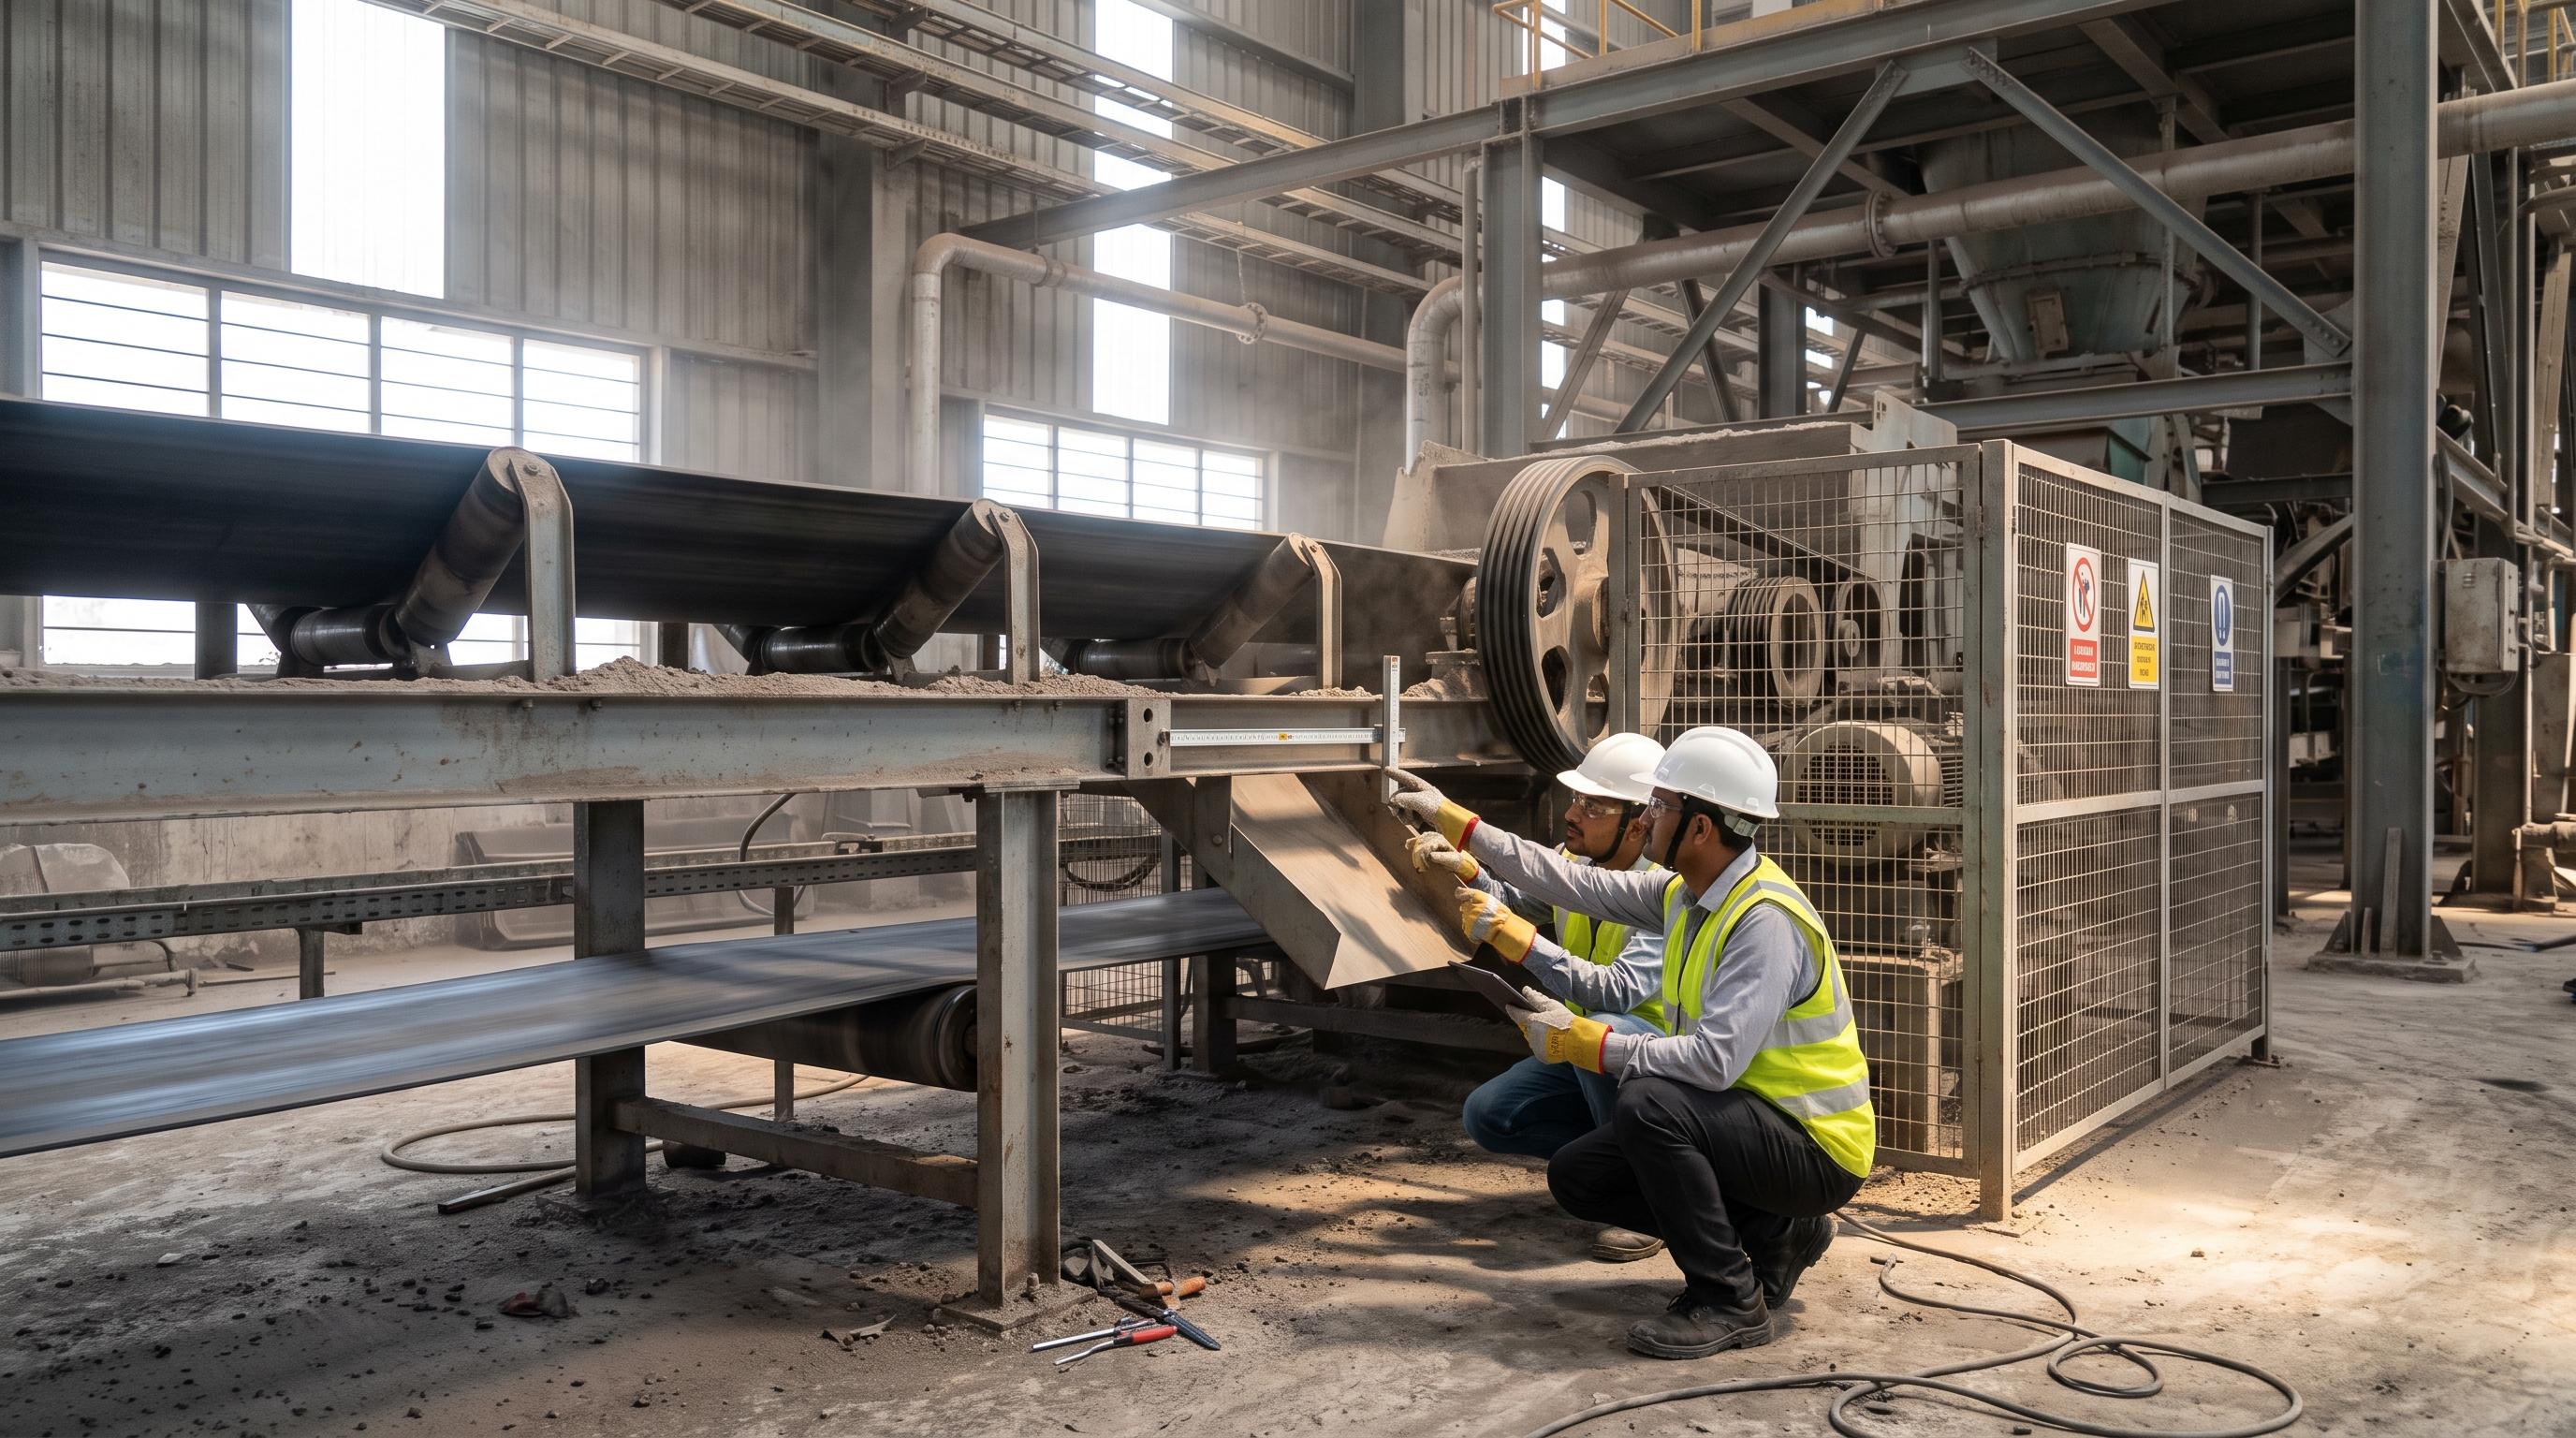
TL;DR: Before running a conveyor at full load, test it in stages: pre-start inspection → empty run → 25% load → 50% load → 100% load. Check belt and pulley alignment, idlers, splice, take-up tension, drive, guards, and safety devices before startup. During the empty run, verify belt direction, tracking, motor current, noise, vibration, and cleaners. At 25% load, check material flow, transfer points, skirting, dust, and belt support. At 50%, check belt sag, motor amps, tracking, buildup, and carryback. At 100%, monitor temperatures, motor current, discharge flow, spillage, dust, and tracking during sustained operation. Record all readings and corrections, and send repeated problems for engineering review instead of relying on repeated site adjustments.
A conveyor can run perfectly during a short trial and still develop problems when full load starts. The belt may begin to mistrack when material is added. Spillage may appear at the transfer point. Carryback may build up under the belt. Motor current may rise, or bearings and the gearbox may start running hot after hours of operation.
These problems are often not caused by a major failure. Small issues such as poor pulley alignment, incorrect take-up tension, weak skirt sealing, or a poorly set belt cleaner can become bigger problems once the conveyor runs under real conditions.
That is why commissioning should not end when the belt starts. The conveyor needs to be checked empty and then tested step by step at 25%, 50%, and 100% load before it is accepted for full-load operation.
What Is Conveyor Commissioning and Why Does It Matter?
Conveyor commissioning is the process of checking and testing a conveyor before it is put into regular operation. It confirms that the conveyor can run safely and handle the required material and load. Commissioning is not just about starting the belt. It checks the complete system, including the belt, pulleys, idlers, drive, transfer points, cleaners, safety devices, and controls.
A good commissioning process follows three main steps:
Pre-start checks with the conveyor stopped and locked out
Empty-run testing to check belt movement, tracking, noise, and drive behavior
Step-by-step load testing at 25%, 50%, and 100% of design capacity
The goal is simple: find and fix problems before they become production or safety problems. A conveyor should be accepted only after it has shown stable performance under real operating conditions.
The five areas a conveyor commissioning checklist must cover
Check the conveyor as a working system, not a collection of parts. Every credible commissioning plan covers five areas, and weakness in any one of them shows up in the first days of production.
Area | What it proves | Typical failure if skipped |
|---|---|---|
Mechanical alignment and condition | Structure, pulleys, idlers, and splice are true | Persistent mistracking no trainer can fix |
Belt behavior and tracking stability | The belt runs centred empty and loaded | Edge wear, spillage, belt damage at structure |
Loading, transfer, and containment | Material lands centred and stays contained | Dust, spillage, skirt leakage, load-zone wear |
Electrical, control, and interlock readiness | Drive, sequence, and protection logic work | Nuisance trips, or worse, no trip at all |
Safety access, guarding, emergency response | People can operate and maintain it safely | Unsafe adjustment, deferred maintenance |
Stage 1: Pre-Start Checks
Before starting the conveyor, check the complete system while it is stopped and locked out. Nothing should move during these checks.
1. Clear the conveyor path
Remove tools, scrap, loose material, welding rods, and other debris from:
Belt surface
Return side
Take-up area
Chutes
Loading zones
Even a small piece of debris can damage the belt when the conveyor starts.
2. Check idlers and pulleys
Turn each idler and pulley by hand. They should move freely without:
Rough movement
Binding
Unusual resistance
If an idler feels rough before startup, replace it before running the conveyor.
3. Check alignment
Make sure the conveyor structure, pulleys, and idlers are properly aligned. Head, tail, bend, snub, and take-up pulleys should be square with the conveyor centreline. Poor alignment can later cause belt mistracking.
4. Inspect the belt and splice
Check the belt for damage and inspect the splice for proper alignment and condition. An out-of-square splice can cause the belt to move off-centre during operation.
5. Check take-up tension
Confirm that the take-up is set according to the conveyor design. Also make sure enough travel is available for future belt stretch and adjustment. Do not set tension just by feel. Too little tension can cause belt slip, while too much can put extra load on the belt and components.
6. Check the drive
Before startup, check the gearbox oil, coupling, motor mounting, backstop, and brake where applicable.
7. Secure guards
Make sure pulley guards, drive covers, nip guards, and access panels are properly fitted and secured before any movement.
8. Test safety devices
Test every emergency stop, pull-cord, and required interlock. Each device should stop the drive and keep it stopped as intended.
Pre-start rule: If a mechanical, drive, guarding, or safety issue is found at this stage, fix it before starting the conveyor.
Stage 2: Empty-Run Test
After the pre-start checks are complete, run the conveyor without material. This test helps you find mechanical and tracking problems before adding load.
1. Check the belt direction
Start with a short jog of the motor. Confirm that:
The belt moves in the correct direction.
The backstop works in the correct direction.
No cleaner or plough is working against the belt.
Fix any direction problem before running the conveyor continuously.
2. Watch the full belt path
Run the conveyor and watch the belt from the tail pulley to the discharge and back through the return side. Do not only look at the point where the belt moves the most. Find the first point where the belt starts moving off-centre.
3. Record no-load motor current
Take a motor amp reading while the conveyor is empty. This becomes your baseline reading. If the motor draws more current than expected, look for mechanical drag such as a seized idler, rubbing skirt, or coupling problem.
4. Listen for unusual noise
Listen for grinding, squealing, knocking, or unusual vibration. These signs can point to problems with bearings, couplings, the gearbox, pulleys, or other components.
5. Check starting and stopping
The conveyor should start smoothly without heavy shock, belt slip, or sudden belt movement. Stopping should also be controlled. If the conveyor starts badly when empty, the problem can become worse when material is added.
6. Check cleaners and ploughs
Set the primary and secondary belt cleaners so they make proper contact across the belt. Also check that the ploughs make consistent contact.
Empty-run rule: If the conveyor cannot run smoothly and stay centred without material, do not move to load testing yet.
Stage 3: 25% Load Test
Once the conveyor runs smoothly without material, start the load test at 25% of the design capacity. At this stage, the main focus is the transfer point, material flow, and containment.
1. Check where the material lands
The material should land near the centre of the belt and move in the same direction as the belt. Off-centre loading can make the belt mistrack and can increase spillage.
2. Check the loading zone
Make sure the impact bed or impact idlers are taking the force of falling material. The material should not be hitting the normal carrying idlers directly.
3. Check the skirt sealing
Inspect the full skirted area. Check the rubber, clamps, and sealing contact. The goal is to keep material inside the conveyor and prevent leakage.
4. Look for dust escape
Watch the chute entry, skirt area, and exit seal for visible dust. Dust escaping at 25% load can become a much bigger issue when the conveyor reaches full capacity.
5. Check belt support under the skirt
The belt should have proper support through the sealed loading zone. If the belt sags too much between idlers, the skirt may not seal properly.
25% Load Rule: Do not increase the feed to 50% until the material flow, loading, skirting, dust control, and belt support are working properly.
Stage 4: 50% Load Test
After the conveyor passes the 25% load test, increase the feed to 50% of the design capacity. At this stage, the focus moves from basic material flow to belt behavior, power use, and transfer performance under a real load.
1. Check belt sag
Measure the belt sag between the carrying idlers and compare it with the design value. Too much sag can affect belt support and may also create problems in the loading and sealing areas.
2. Record motor amp draw
Check the motor current at 50% load and compare it with the expected loaded value. A higher-than-expected reading can point to extra resistance or another mechanical problem.
3. Re-check belt tracking
Do not assume that good tracking during the empty run means the belt will track well under load. Material can change how the load sits on the belt and may cause the belt to move to one side.
4. Check the transfer point
Look for material buildup, plugging, or material getting stuck inside the chute. Check liners and deflectors as well. Material should flow through the transfer without creating a blockage.
5. Check carryback
Look at the return side after the material passes the discharge point. If material is sticking to the belt and coming back with it, check the belt cleaner before moving to full load.
50% Load Rule: Fix belt sag, high amp draw, tracking problems, transfer buildup, and carryback before moving to 100% load.
Stage 5: 100% Load Test
Once the conveyor passes the 50% load test, it is time to test it at 100% of its design capacity. This stage checks whether the conveyor can handle continuous full-load operation, not just a short trial.
1. Run for a proper period
Do not run the conveyor at full load for only a few minutes. Give it enough time to reach a stable operating condition. This helps reveal problems that may only appear after the conveyor has been running for some time.
2. Check bearing and gearbox temperatures
Monitor the temperature of the bearings and gear reducer as the conveyor runs. The important point is to check whether temperatures stabilise during operation, not just whether they look normal when the conveyor first starts.
3. Monitor motor current
Keep checking motor current during full-load operation. Also watch for current peaks during startup and sudden changes in material feed.
4. Check discharge flow
Material should leave the head pulley smoothly. Look for:
Material falling back
Buildup around the discharge
Unstable material flow
Overloading of the downstream chute
5. Walk the full conveyor route
Inspect the complete conveyor again while it is running at full load. Check for:
Spillage
Dust release
Skirt leakage
Belt mistracking
Cleaner performance
6. Check peak feed conditions
If possible, test the conveyor at the highest expected feed rate, not only at its normal design rate. This helps confirm that the system can handle real operating conditions.
100% Load Rule : The conveyor should not be considered ready just because it reaches 100% load. It should remain stable, safe, and predictable during sustained operation, with all readings and findings documented.
If you want a practical reference your site team can use during startup and handover, keep a commissioning spec sheet close at hand so checks, readings, and sign-off points are not missed. If you also need application guidance on conveyor components and system fit, review our Industry solutions page.
Safety and Control Checks
A conveyor can be mechanically ready and still be unsafe if its safety devices and control logic do not work as expected. Before handover, test each protection device as part of the complete conveyor system.
1. Test emergency devices
Check all required:
Pull-cord switches
Emergency stops
Belt sway switches
Zero-speed or underspeed switches
Overload trips
Chute blockage detection
Belt rip detection, where fitted
Each device should give the correct response when tested.
2. Check the control response
Do not only check whether a device trips. Confirm that the control system receives the correct signal, gives the right alarm, and stops the conveyor as intended. The conveyor should also restart only when the required conditions are safe.
3. Test the complete start-stop sequence
Check:
Local start and stop controls
Warning horn and beacon before startup
Upstream and downstream permissives
Automatic start and stop sequence
Emergency stop response across connected equipment
These checks confirm that the conveyor works correctly as part of the whole conveying system, not just as one machine.
4. Check fire and high-risk monitoring
For enclosed, elevated, or higher-risk conveyors, also verify monitoring systems such as:
Bearing temperature monitoring
Belt slip detection
Heat detection
Dust-related controls, where fitted
What Should Be Recorded at Handover?
Commissioning should not end with a successful test run. The team should record the results, problems, and corrections before the conveyor is handed over. These records give the operations and maintenance team a clear baseline for future checks.
Record These Key Results
Motor current: Record no-load and loaded amp readings.
Bearing and gearbox temperatures: Record temperatures after they become stable.
Take-up setting: Record the take-up position and tension setting.
Belt sag: Record measurements and compare them with the design value.
Belt tracking: Note tracking behavior at different zones.
Spillage and dust: Record where material or dust escapes.
Cleaner settings: Record the final cleaner and plough settings.
Safety tests: Record the results of emergency stops, pull-cords, and other interlocks.
Record Problems and Corrections
Do not only record that a test “passed.” If a problem was found and corrected, record:
What was found → What was changed → Final result
This makes it easier to understand what was done during commissioning and helps prevent the same issue from coming back later.
Handover Rule
A conveyor is ready for handover when it has been tested under representative operating conditions, all major findings are corrected, and the test results and deviations are documented. For site-specific engineering support beyond commissioning, explore our conveyor services offering.
Common Conveyor Commissioning Mistakes
Even when a conveyor passes its basic tests, a few common mistakes can create problems after startup. These mistakes often happen when teams focus on getting the conveyor running quickly instead of proving that it can run reliably.
1. Treating commissioning as a short trial
Running the conveyor for a few minutes does not prove that it is ready for production. The conveyor should run at representative load conditions long enough to check tracking, temperatures, power draw, and material flow.
2. Setting take-up tension by feel
Take-up tension should follow the conveyor design, not a technician's judgment. Incorrect tension can lead to belt slip, startup problems, or extra stress on the belt and components.
3. Using trainers to hide tracking problems
If the belt keeps moving off-centre at the same location, adjusting the trainer may only hide the real problem. Check the pulley, idler, splice, or loading condition causing the belt to move first.
4. Going directly to 100% load
Starting at full capacity makes problems harder to understand and can increase the impact of a failure. Testing at 25%, 50%, and 100% gives the team a chance to find and fix problems at each stage.
5. Accepting cleaners without checking their performance
A belt cleaner may be installed correctly but still fail to remove carryback. Check actual cleaning performance during the loaded test, not just the installation and blade position.
6. Ignoring return-side buildup
Material left on the return side can build up around idlers and pulleys. Over time, it can affect tracking and increase maintenance problems.
7. Skipping commissioning records
If readings are not recorded, it becomes difficult to know what was normal when the conveyor was first commissioned. Record important values such as motor current, temperatures, belt tracking, take-up position, and test results for future reference.
When Does a Conveyor Need Engineering Correction?
Not every commissioning problem can be fixed by making a small adjustment on site. Some problems point to a design or engineering issue.
Signs That Need Engineering Review
You may need an engineering correction if you see:
Material keeps landing off-centre.
The discharge flow is unstable.
Dust continues to escape after sealing adjustments.
Carryback continues even after the cleaners are set correctly.
The belt keeps mistracking after alignment adjustments.
Maintenance points are difficult or unsafe to reach.
These problems should not be solved by making repeated small adjustments without finding the root cause.
What Should Be Reviewed?
Depending on the problem, review:
Transfer chute design
Belt support in the loading zone
Pulley and idler alignment
Skirting and containment
Belt cleaner selection
Conveyor system integration
If repeated site adjustments are not solving the problem, the next step is not another trial run. It is a structured engineering review of loading, containment, tracking, and system integration. For broader root-cause work across spillage, dust, and material flow, see our Problems & Solutions page.
From the Field: When Belt Mistracking Appears Only Under Load
A bulk material conveyor passed its empty-run test with no major tracking issues. However, when material was introduced during commissioning, the belt began moving off-centre near the loading zone. Spillage also started to appear along the skirted section. Why It Happened: The empty belt was tracking reasonably well, but the material was not landing centrally on the belt. The changed loading pattern created a steering force that became visible only when the conveyor was carrying material. The team also found that belt support under the skirted area needed attention.
What Changed:
The material loading point was checked and adjusted to improve centre loading.
Belt support through the skirted loading zone was checked and corrected.
Pulley and idler alignment was reviewed instead of relying only on tracking trainers.
Skirting was adjusted after the belt support and loading conditions were corrected.
Result:The conveyor was retested at increasing load levels. Tracking and material containment were checked again before moving to full-load operation. A conveyor can track well during an empty run and still mistrack when material is added. If the same tracking problem keeps returning, do not keep adjusting the trainer. Find the source of the steering force first.
Key Takeaways
A proper conveyor commissioning process helps find problems before they become production, maintenance, or safety issues.
The key points are:
Check before startup: Inspect the belt, pulleys, idlers, splice, take-up, drive, guards, and safety devices.
Run the conveyor empty: Check belt direction, tracking, motor current, noise, vibration, cleaners, and ploughs.
Start at 25% load: Focus on material flow, transfer points, skirting, dust, and belt support.
Increase to 50% load: Check belt sag, motor amps, tracking, transfer buildup, and carryback.
Test at 100% load: Monitor temperatures, motor current, discharge flow, spillage, dust, and tracking during sustained operation.
Test safety systems: Make sure emergency stops, pull-cords, interlocks, and protection devices work as part of the complete control system.
Document everything: Record readings, problems, corrections, and final test results.
Know when to stop adjusting: If the same problem keeps returning, it may need an engineering review instead of another site adjustment.
The final goal is simple: a commissioned conveyor should run safely, cleanly, and reliably at real plant conditions not just start successfully.
Frequently asked questions (FAQs)
Conveyor commissioning confirms that the system performs safely and reliably under real plant conditions before handover. It verifies structural and mechanical alignment, take-up tension, belt tracking, chute loading and containment, cleaner performance, control and interlock logic, safety devices, and maintainability before the conveyor is asked to run continuously at design tonnage.
Before full load, check structural line and level, pulley squareness, free rotation of all idlers and pulleys, belt splice condition, take-up tension and reserve travel, drive and gearbox readiness, guarding, and every emergency stop and interlock. Then run the belt empty to verify rotation, tracking, noise, and no-load current, and load in steps of 25%, 50%, and 100% while monitoring transfer performance, belt sag, motor amps, carryback, and bearing temperatures.
Because each load level exposes a different problem and keeps findings diagnosable. At 25% you see loading trajectory, skirt sealing, and dust behavior with low consequence. At 50% you see belt sag, power draw, and tracking under a real burden. At 100% you see sustained thermal behavior, discharge stability, and peak-rate chute performance.
Most early failures come from missed basics rather than exotic problems: a pulley that is not square, a chute that loads off-centre, an unsealed or unsupported skirt zone, an under-adjusted take-up, a cleaner set by eye, or a safety circuit that was never fully proven.
Until the conveyor has run at representative operating conditions, including peak expected feed, for long enough that temperatures stabilise and tracking behavior is proven, and until every finding has been corrected and documented.
The most common causes are pulleys that are not square to the centreline, twisted or unevenly shimmed idler frames, an out-of-square splice, material loaded off-centre at the transfer, incorrect take-up tension, and return-side carryback building up on idlers and pulley faces.
Yes. Set primary and secondary cleaner blade contact during the empty run, then verify actual cleaning performance during the loaded steps. If carryback is visible at 25% to 50% load, correct it before advancing to full capacity.
Record no-load and loaded motor current, bearing and gear reducer temperatures at stabilisation, take-up position and tension setting, belt sag measurements, tracking observations by zone, spillage and dust findings, cleaner settings, and the test results for every interlock and emergency stop.